

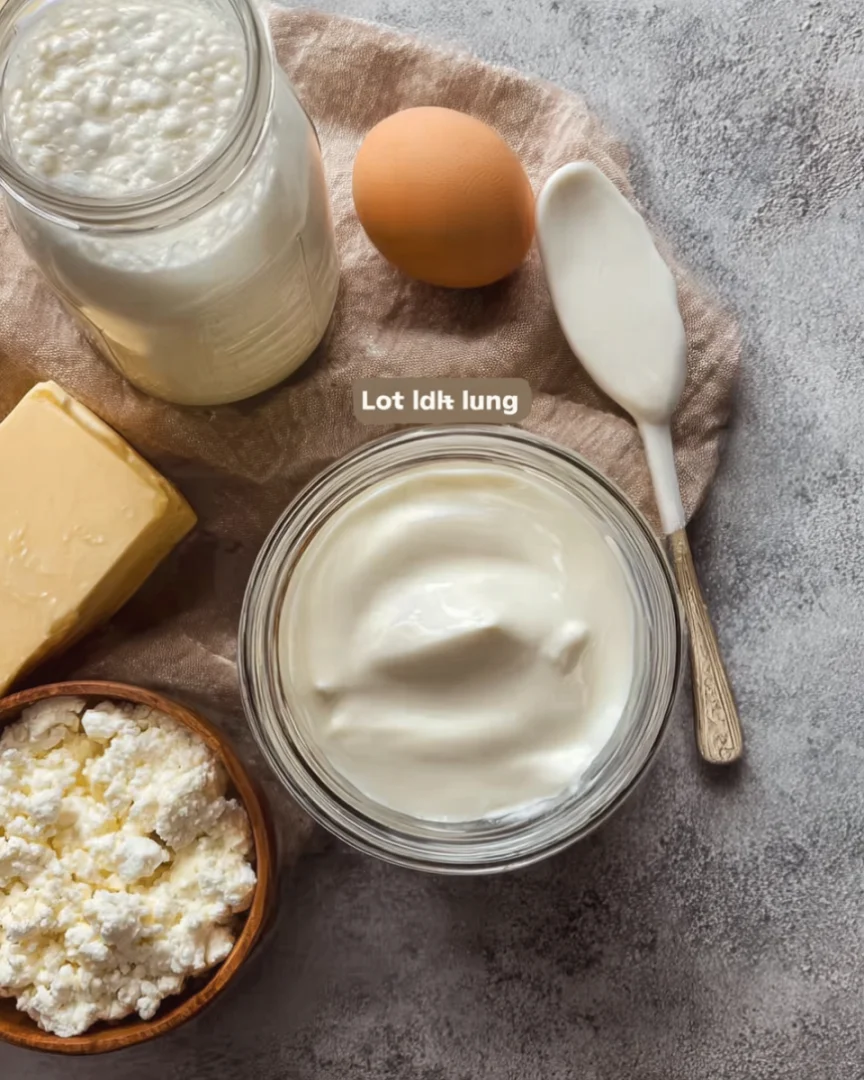
Creating your own dairy essentials at home can be a rewarding and cost-effective way to enhance your cooking and baking. With a few simple ingredients and techniques, you can produce delicious homemade dairy products such as cheese, yogurt, butter, and more. This guide will provide you with detailed recipes and instructions to master the art of homemade dairy essentials, perfect for both seasoned cooks and newbies in the kitchen. By making your own dairy products, you not only gain control over the ingredients but also enjoy the rich, fresh flavors that store-bought options often lack.
Ingredients
Homemade Ricotta Cheese
- 4 cups whole milk – Opt for fresh, high-quality whole milk for a creamier texture and richer flavor. Look for milk labeled as ‘non-homogenized’ if available.
- 1 cup heavy cream – Use heavy cream with at least 36% fat content for the best results. This contributes to a rich and velvety ricotta.
- 1/4 teaspoon salt – Sea salt or kosher salt is recommended for enhanced flavor.
- 3 tablespoons white vinegar or lemon juice – Either option works well; lemon juice adds a subtle brightness to the ricotta.
Yogurt
- 4 cups whole milk – Again, using whole milk will result in a creamier yogurt. Consider using pasteurized milk for safety and consistency.
- 1/2 cup plain yogurt with live cultures – Ensure it contains active cultures, as these are essential for fermentation and thickening.
Homemade Butter
- 1 pint heavy cream – Using high-fat cream ensures a richer butter. Look for organic cream for the best flavor.
- 1/4 teaspoon salt (optional) – If you prefer salted butter, adjust the salt according to your taste preferences.
Steps / Instructions
Making Homemade Ricotta Cheese
- In a large saucepan, combine the milk, cream, and salt. Heat over medium heat until the mixture reaches 190°F (88°C), stirring occasionally to prevent sticking. You want to see small bubbles forming around the edges, indicating it’s ready.
- Once it reaches the temperature, remove the pan from heat and add the vinegar or lemon juice. Stir gently until the curds and whey separate (about 5 minutes). You’ll notice the curds clumping together, which is a good sign.
- Line a fine-mesh strainer with cheesecloth and set it over a bowl. Pour the curds and whey into the strainer and let it drain for 15-20 minutes until it reaches your desired consistency. If you prefer a drier ricotta, let it drain longer.
- Once drained to your desired consistency, transfer the ricotta to a bowl and refrigerate. Use within a week, and consider using it in various dishes like lasagna or spread on toasted bread.
Making Yogurt at Home
- Heat the milk in a saucepan over medium heat until it reaches 180°F (82°C). Stir occasionally to prevent scorching, then remove from heat and let cool to 110°F (43°C). This cooling step is crucial for the live cultures to thrive.
- Once cooled, whisk in the plain yogurt until fully combined. Make sure there are no lumps for a smoother final product.
- Pour the mixture into clean jars and cover them with a lid or cloth. Place in a warm area (e.g., an oven with the light on) for 6-12 hours until thickened. Longer fermentation leads to tangier yogurt.
- After it has thickened, transfer the yogurt to the fridge and chill before serving. This yogurt can last for about 1-2 weeks in the refrigerator.
Making Homemade Butter
- Pour the heavy cream into a stand mixer bowl. Using the whisk attachment, beat the cream on medium-high speed. It will first turn to whipped cream, then continue to whip past that stage.
- Continue whipping until the cream thickens and then turns to butter (about 10 minutes). You’ll notice buttermilk separating from the butter; this is normal and signals that you’re close to being done.
- Drain the buttermilk and rinse the butter under cold water until the water runs clear, which helps remove any remaining buttermilk that can spoil the butter.
- If desired, mix in salt to taste. Store in an airtight container in the refrigerator for up to a month. You can also freeze butter in small portions for longer storage.
Tips & Tricks
To enhance your homemade dairy essentials, consider the following tips:
- Use high-quality ingredients for the best flavor and texture. Organic milk and cream are excellent choices, as they often have superior taste and nutritional value.
- For the ricotta, the longer you let it drain, the firmer the cheese will be. Adjust according to your preference, and remember that fresh ricotta has a wonderful creamy texture that can be enjoyed immediately.
- Experiment with flavoring yogurt by adding honey, vanilla, or fresh fruit after it has set. This allows you to customize your yogurt experience and explore various flavor profiles.
- Butter can be flavored as well! Consider adding herbs or spices like garlic, rosemary, or red pepper flakes for a gourmet touch that elevates your dishes.
- Store ricotta and yogurt in airtight containers to maintain freshness. Homemade butter can also be frozen for longer storage, ensuring you always have it on hand.
Variations
Explore different flavor profiles and dairy options: Check out our related guide for more tips.
- For flavored ricotta, incorporate herbs like basil or chives for savory applications or add lemon zest for a refreshing twist.
- To make Greek yogurt, strain the yogurt through a cheesecloth for several hours to achieve a thicker consistency. This process not only thickens the yogurt but also makes it creamier.
- If you prefer dairy alternatives, try making cashew or almond cream as a substitute in recipes, which can provide a similar texture in vegan dishes.
Serving Suggestions
These homemade dairy essentials can be served in various ways:
- Use ricotta as a spread on toast topped with honey and fruit for breakfast, or mix it into pasta dishes for added creaminess.
- Serve yogurt with granola and berries for a healthy snack or breakfast option. You can also top it with nuts for a satisfying crunch.
- Homemade butter is perfect for spreading on warm bread or using in baking for rich flavor; consider using it in recipes where butter is a key ingredient.
FAQ
Can I use low-fat milk for these recipes? While low-fat milk can be used, whole milk will yield creamier textures, especially for ricotta and yogurt. The fat content contributes significantly to the mouthfeel.
How do I know if my yogurt has set properly? Yogurt will thicken, and you can check it by gently tilting the jar. If it wobbles slightly but holds its shape, it’s ready. A well-set yogurt will appear creamy and will not be runny.
What can I do with leftover buttermilk? Use it for pancakes, biscuits, or in salad dressings. Buttermilk can add a delightful tang and moisture to baked goods.
For more dairy-related inspiration, check out [Fall Treats: Easy Homemade Desserts for Cozy Days](https://www.kimondnote.com/fall-treats-easy-homemade-desserts-for-cozy-days/).
Homemade Ricotta Cheese
A simple recipe for making rich and creamy ricotta cheese at home using whole milk and heavy cream.
Ingredients
- 4 cups whole milk
- 1 cup heavy cream
- 1/4 teaspoon salt
- 3 tablespoons white vinegar or lemon juice
Directions
In a large saucepan, combine the milk, cream, and salt. Heat over medium heat until the mixture reaches 190°F (88°C), stirring occasionally to prevent sticking.
Once it reaches the temperature, remove the pan from heat and add the vinegar or lemon juice. Stir gently until the curds and whey separate (about 5 minutes).
Line a fine-mesh strainer with cheesecloth and set it over a bowl. Pour the curds and whey into the strainer and let it drain for 15-20 minutes until it reaches your desired consistency.
Once drained, transfer the ricotta to a bowl and refrigerate. Use within a week.
Recipe Reviews
- ★★★★★
Excellent recipe!
Leave a Reply
Your email address will not be published. Required fields are marked *







Excellent recipe!