Introduction
Imagine the festive aroma of pine filling your home, the twinkling lights casting a warm glow, and the joy of decorating your Christmas tree. Now, what if you could bring that same magical experience to your taste buds with a Quick Christmas Trees recipe? This delightful treat combines the essence of the holiday season with a delicious twist that will have your guests singing carols of delight. Let’s embark on a culinary journey that will not only dazzle your senses but also bring a touch of whimsy to your holiday celebrations.
Why You’ll Love This Recipe
These Quick Christmas Trees are not only visually captivating but also incredibly easy to make, making them perfect for busy holiday gatherings. The best part is that you can customize them with your favorite flavors and toppings, ensuring a delightful surprise with every bite. Whether you’re hosting a festive party or looking for a fun family activity, these Christmas tree treats are sure to be a hit.
Additionally, this recipe offers a great way to involve kids in the kitchen, allowing them to unleash their creativity and create edible masterpieces that will be cherished memories for years to come. With just a few simple ingredients and a dash of holiday spirit, you can whip up these delightful treats in no time.
These Christmas trees are not only a feast for the eyes but also a treat for your taste buds. The combination of sweet and crunchy elements will leave you craving for more, making this recipe a must-have for your holiday repertoire.
Ingredients
For these Quick Christmas Trees, you will need the following ingredients:
– Sugar cones
– Green candy melts
– Assorted sprinkles
– Star-shaped candies
– Edible glitter (optional)
Feel free to get creative with your toppings and decorations to customize your Christmas trees to your liking. You can also explore different color combinations to create a vibrant forest of edible delights.
Step-by-Step Instructions
1. Melt the green candy melts according to the package instructions, ensuring a smooth and creamy consistency.
2. Dip each sugar cone into the melted candy melts, ensuring that the cone is evenly coated.
3. Sprinkle assorted sprinkles onto the wet candy coating, allowing them to adhere and create a festive look.
4. Place a star-shaped candy at the top of each cone to mimic the star atop a Christmas tree.
5. Allow the candy coating to set and harden before serving your delectable Christmas trees.
Pro Tip: To add a touch of sparkle, dust edible glitter over your Christmas trees for a dazzling effect that will mesmerize your guests.
Expert Tips for Success
For best results, be sure to work quickly when dipping the sugar cones to ensure a smooth coating. You can also use a spoon to help drizzle the melted candy over the cones for a more controlled application. Additionally, refrigerating the cones after decorating can help set the candy coating faster, making them ready to enjoy in no time.
Avoid overheating the candy melts, as this can cause them to become too thick. If the candy coating starts to harden while decorating, simply reheat it in short bursts in the microwave, stirring between intervals until it reaches the desired consistency.
Variations and Substitutions
Feel free to experiment with different flavors of candy melts to create a variety of Christmas tree treats. You can also explore alternative toppings such as crushed nuts, shredded coconut, or mini chocolate chips for a unique twist. For a healthier option, consider using yogurt-covered cones and fresh fruit as decorations.
If you have dietary restrictions, you can easily adapt this recipe by using vegan candy melts, gluten-free sprinkles, or sugar-free toppings. The beauty of these Quick Christmas Trees lies in their versatility, allowing you to cater to a range of preferences and dietary needs.
Serving Suggestions
These festive Christmas trees are perfect for serving as a sweet treat at holiday parties, family gatherings, or as a fun dessert for kids. Pair them with a cup of hot cocoa or spiced apple cider for a cozy and delightful experience. You can also display them on a platter adorned with festive decorations to create a stunning centerpiece for your holiday table.
FAQs
Q: Can I make these Christmas trees ahead of time?
A: Yes, you can prepare these Christmas trees in advance and store them in an airtight container at room temperature. However, it’s best to decorate them shortly before serving to maintain their freshness and visual appeal.
Q: Can I use regular ice cream cones instead of sugar cones?
A: While sugar cones work best for this recipe due to their sturdy construction, you can certainly use regular ice cream cones if that’s what you have on hand. Just be mindful of their fragility when dipping and decorating.
Q: How long will these Christmas trees stay fresh?
A: These Christmas trees are best enjoyed within 1-2 days of preparation to ensure optimal taste and texture. Store any leftovers in an airtight container to help preserve their crunchiness.
Final Thoughts
As you embark on the culinary adventure of creating these Quick Christmas Trees, remember to infuse each step with the joy and spirit of the holiday season. Whether you’re sharing these delightful treats with loved ones or indulging in a moment of festive bliss on your own, let the magic of Christmas shine through in every bite. Embrace the creativity, savor the sweetness, and bask in the warmth of this delightful recipe that brings joy and cheer to all who partake.
May your holiday season be filled with laughter, love, and delicious moments shared around the table. Happy cooking and Merry Christmas!
Quick Christmas Trees recipe
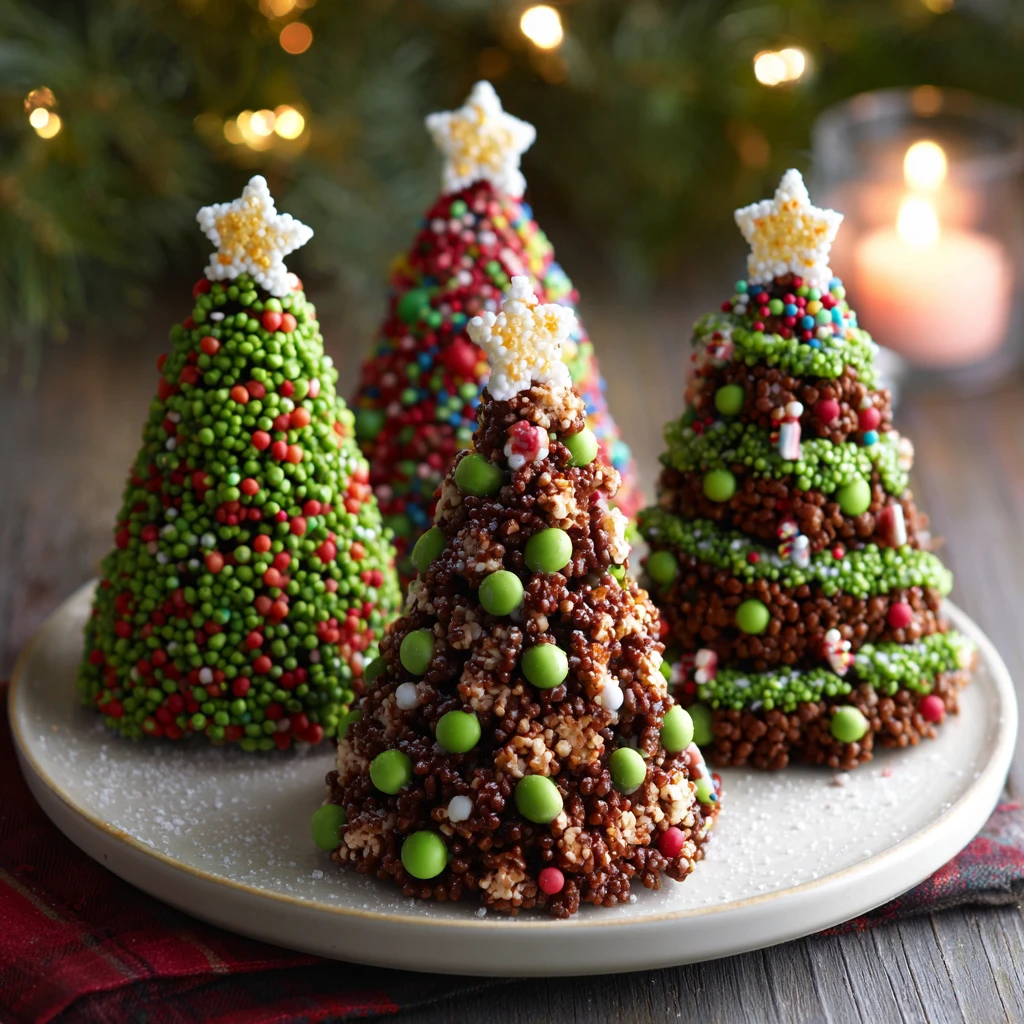
These Quick Christmas Trees are a delightful and visually captivating treat that combines the essence of the holiday season with a delicious twist. Perfect for busy gatherings or a fun family activity, these treats are customizable and sure to be a hit with guests of all ages.
Ingredients
- 6 sugar cones
- 1 cup green candy melts
- Assorted sprinkles
- Star-shaped candies
- Edible glitter (optional)
Directions
-
Melt the green candy melts according to the package instructions until smooth and creamy.
-
Dip each sugar cone into the melted candy melts, ensuring even coating.
-
Sprinkle assorted sprinkles onto the wet candy coating for a festive look.
-
Place a star-shaped candy at the top of each cone.
-
Allow the candy coating to set and harden before serving.
-
Optional: Dust edible glitter over the Christmas trees for a sparkling effect.