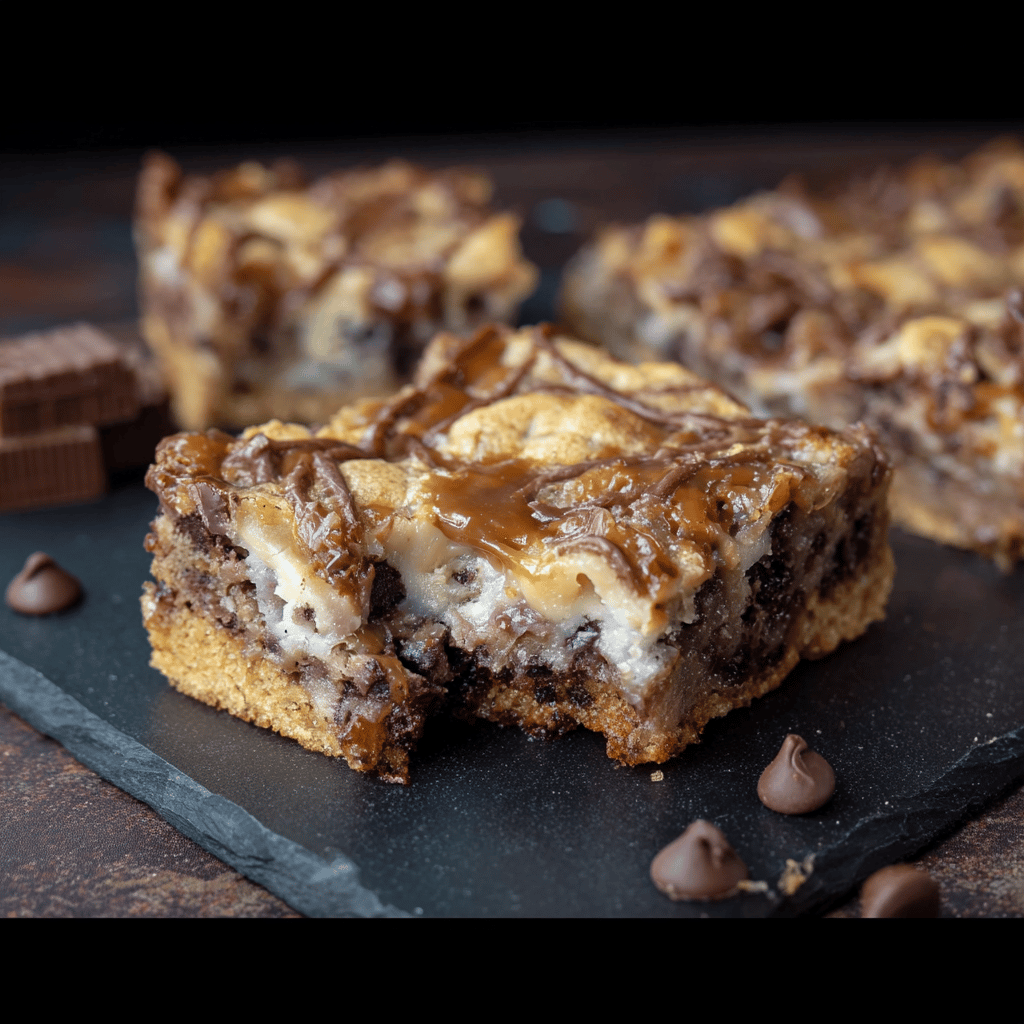
So, there I was, face-to-face with what can only be described as a “layered catastrophe.” It was my third attempt at making Millionaire Magic Bars, and let’s just say, they were anything but magical. The caramel was burnt, the crust was somehow both soggy and burnt (I mean, how does that even happen?), and the chocolate… well, it had bloomed more than my aunt’s prized gardenias. But, you know what? Failure is just the rocky road to success, and I was determined to perfect these decadent treats.
The next batch was a game changer! My kids’ eyes lit up like fireworks, and my neighbor, who swears by her own dessert recipes, asked for seconds – and the recipe. That’s when I knew I had something special. Now, I’m thrilled to share my tried-and-true recipe for Millionaire Magic Bars with you. And trust me, if I can bounce back from my kitchen mishaps, you’re about to become the dessert hero in your own story.
Table of Contents
Ingredients
You won’t need a treasure map to find these ingredients – just a trip to your local supermarket. And hey, don’t be afraid to make substitutions (I certainly have, when I forgot to restock my pantry).
- 1 1/2 cups graham cracker crumbs
- 1/2 cup unsalted butter, melted
- 1 cup semi-sweet chocolate chips
- 1 cup butterscotch chips
- 1 cup chopped nuts (walnuts or pecans work great)
- 1 (14-ounce) can sweetened condensed milk
- 1/2 cup shredded coconut (optional, but highly recommended)
Instructions
Alright, here we go. And remember – if I can bounce back from my kitchen blunders, so can you.
- Preheat your oven to 350°F (175°C), and line a 9×13-inch baking pan with parchment paper. (Learned this the hard way – it’s a lifesaver for easy removal.)
- In a bowl, mix together the graham cracker crumbs and melted butter until well combined, then press the mixture firmly into the bottom of the prepared pan.
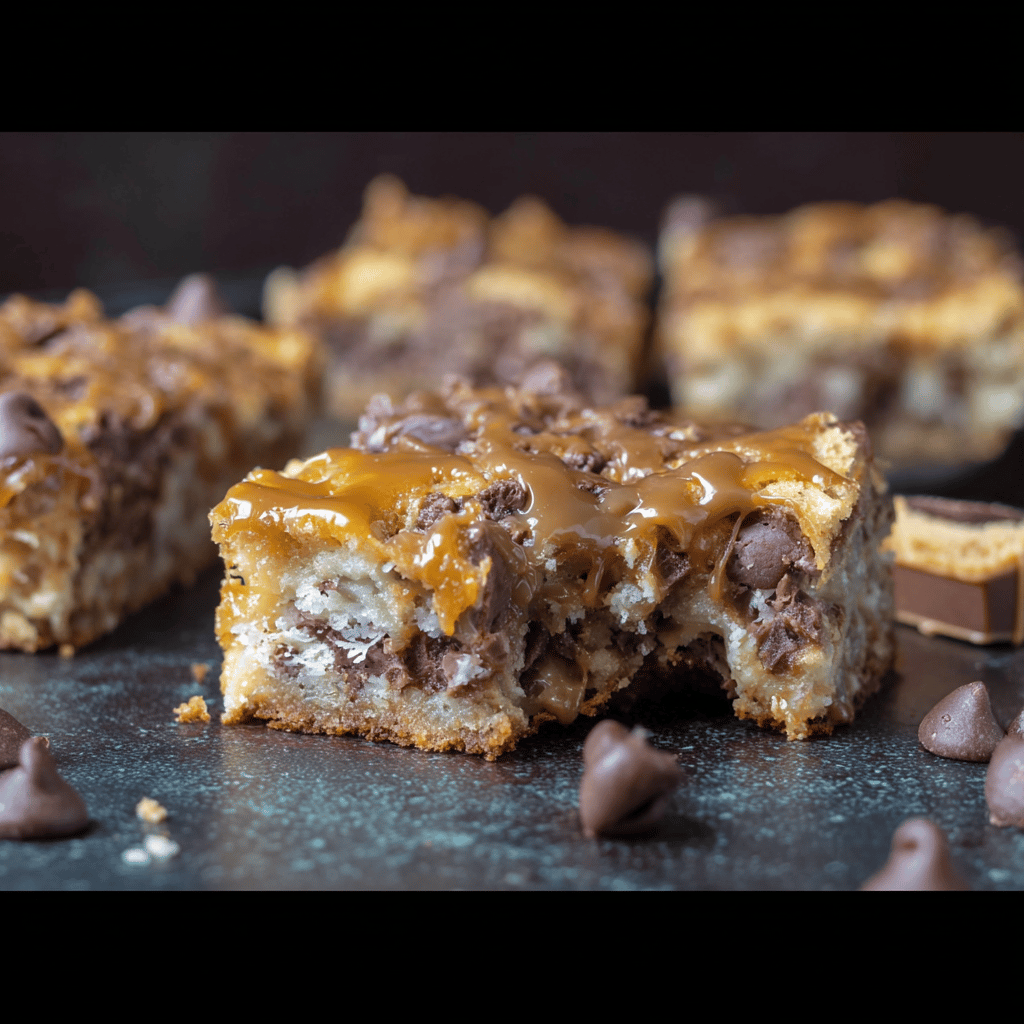
- Sprinkle the chocolate chips, butterscotch chips, and chopped nuts evenly over the crust. Drizzle the sweetened condensed milk over the top, covering everything in a sweet cascade. If you’re using coconut, sprinkle it on now.
- Bake in the preheated oven for about 25 minutes or until the edges are golden brown and the top is slightly bubbly. The kitchen will smell like a confectionery dream!
- Let the bars cool completely in the pan on a wire rack. Once they’re cool, lift them out using the parchment paper and cut them into squares. (Trust me, don’t rush this; cutting too soon equals a gooey mess.)
Tips & Tricks
Now, let me spill some of my secret tea on how to make these bars truly unforgettable:
- For a deeper flavor, toast the nuts and coconut before adding them to the bars. It adds a whole new dimension of nuttiness and crunch.
- If you’re out of butterscotch chips, peanut butter chips make a delicious substitute. I discovered this when my pantry played a disappearing act on the butterscotch.
- Cool the bars in the fridge for a couple of hours to make slicing a breeze. The layers set up perfectly, giving you clean, sharp cuts.
FAQ
Got questions? I’ve got answers – and a few extra tips I picked up along the way.
Q: Can I make Millionaire Magic Bars ahead of time?
A: Absolutely! They keep really well. Just store them in an airtight container at room temperature for up to 3 days, or in the fridge if you prefer them chilled.
Q: How can I reduce the calories in these bars?
A: Well, they’re called Millionaire Bars for a reason – they’re rich! But you can use low-fat sweetened condensed milk and cut back on the chocolate and butterscotch chips if you must.
Q: What’s the best way to store these bars?
A: Keep them in an airtight container with parchment paper between layers to prevent sticking. They’ll stay deliciously decadent for days – if they last that long!
Every time I make these Millionaire Magic Bars, they transport me back to my grandmother’s kitchen, where the counters were always dusted with flour and magic was made with butter and sugar. It’s more than just a recipe; it’s a sweet morsel of my cultural story, a treat that’s been passed down and perfected with love.
So there you have it, my fellow sweet-toothed warriors. Armed with these ingredients and instructions, you’re ready to create your own batch of Millionaire Magic Bars. Whether for a special occasion or just because it’s Tuesday, these bars are sure to add a little magic to your day. And remember, the real secret ingredient is always a sprinkle of patience and a dash of fun. Happy baking!