Table of Contents
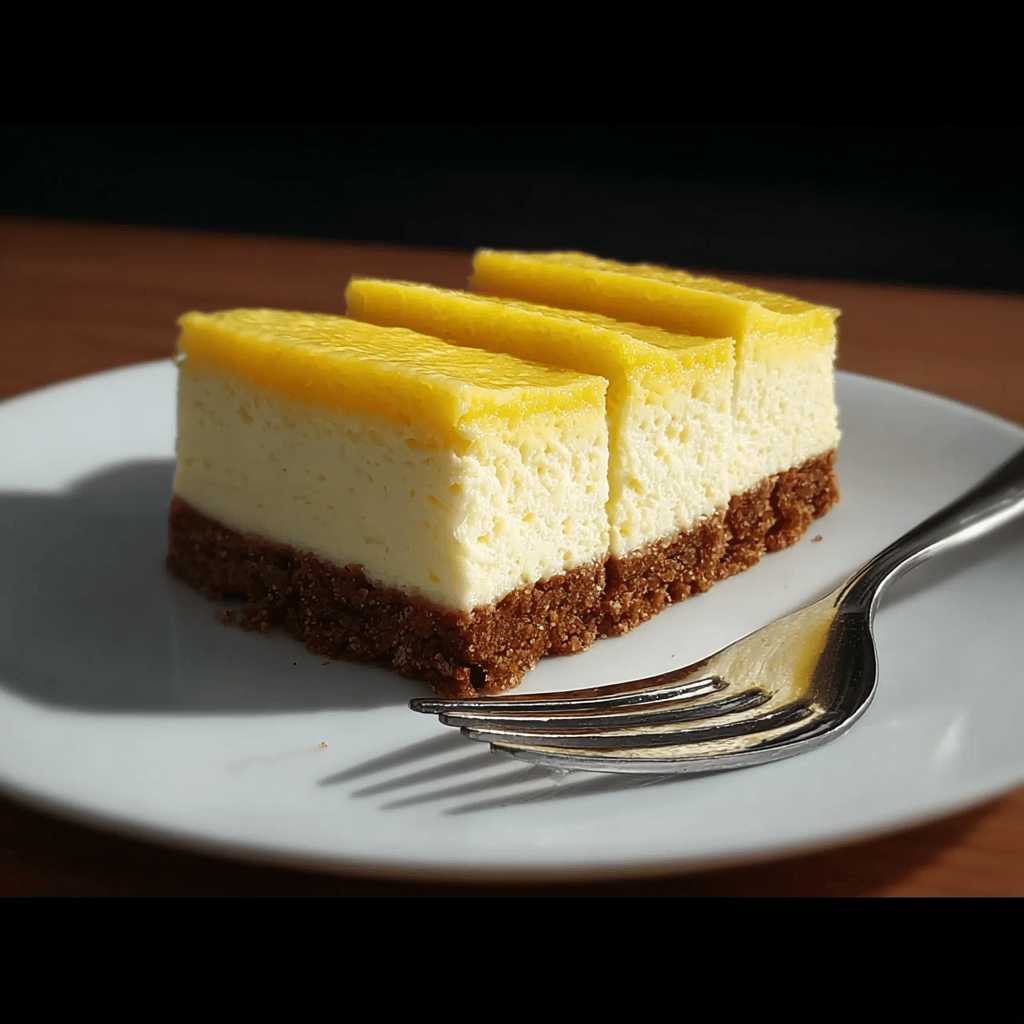
Last summer, my gluten-free quest turned into a zesty adventure when I stumbled upon a recipe for Key Lime Bars. My mom always said, “When life gives you limes, make something tangy.” So, I did – with a gluten-free twist that made her proud (and a little envious, honestly).
Ingredients
Here’s what you’ll need for this tangy treat. And yes, I’ve had to dash to the neighbor’s for an extra lime more times than I can count. (Thanks, Barbara!)
- 1 cup gluten-free graham cracker crumbs
- 1/4 cup melted unsalted butter
- 3 tablespoons granulated sugar
- 1/2 teaspoon salt, divided
- 3 large egg yolks
- 1 1/2 teaspoons grated lime zest
- 1/2 cup key lime juice (trust me, fresh is best)
- 1 can (14 ounces) sweetened condensed milk
- Powdered sugar, for dusting (optional but pretty)
Instructions
Now, about those instructions… Follow these, and you’ll be the lime bar champion. I mean, I’ve had my share of “oops moments” with this one (like the time I forgot to zest the limes before juicing them – facepalm).
- Preheat your oven to 350°F (175°C). Grease an 8-inch square baking dish.
- In a bowl, mix graham cracker crumbs, melted butter, granulated sugar, and 1/4 teaspoon salt until combined.
- Press crumb mixture firmly into the bottom of your prepared dish. Bake for 10 minutes, then cool slightly.
- While the crust bakes, whisk egg yolks and lime zest together until the mixture is light green, about 2 minutes.
- Add condensed milk and remaining salt, whisking for another minute. Then, slowly add lime juice while continuing to whisk.
- Pour filling over the cooled crust and bake for 15 minutes, or until the filling is set.
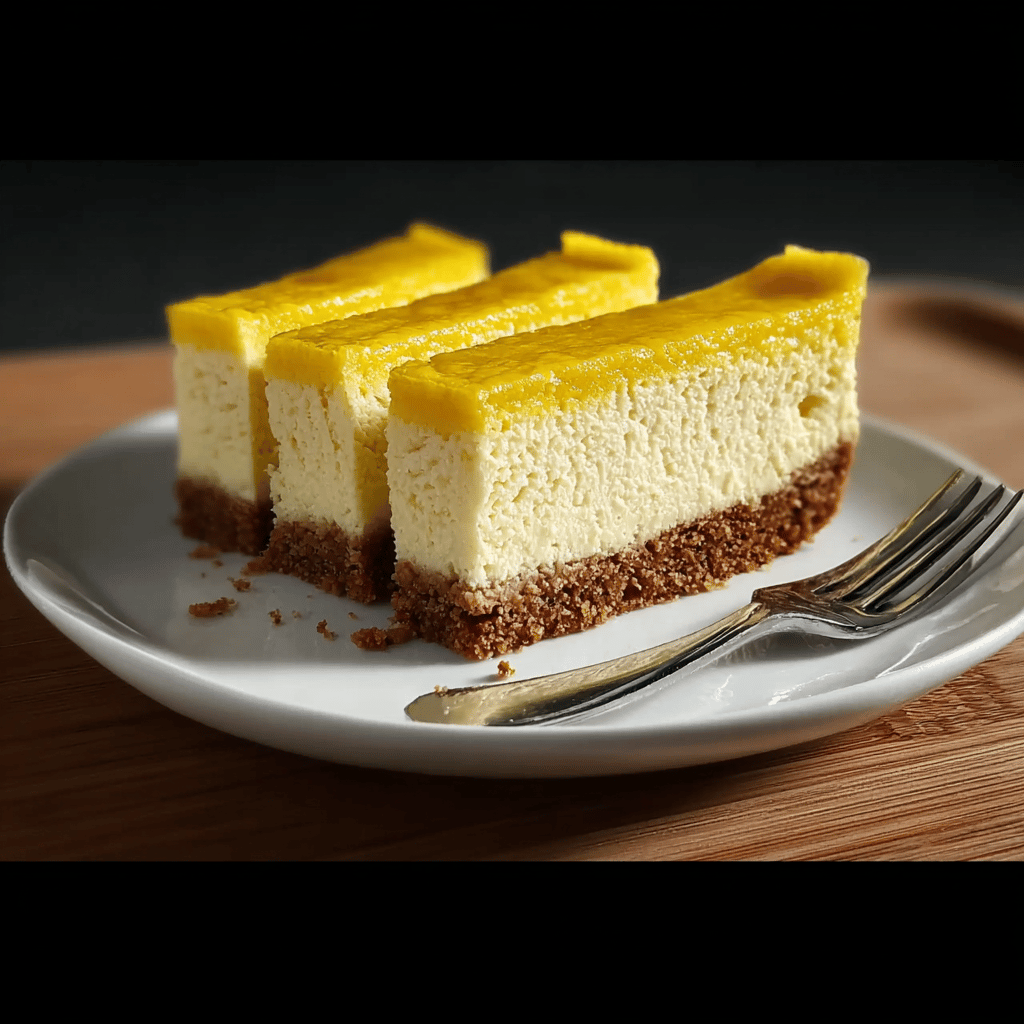
- Chill in the refrigerator for at least 2 hours. Dust with powdered sugar before serving, if desired.
- Cut into bars and serve. Watch them disappear!
Tips & Tricks
Okay, here’s the inside scoop on making these bars perfect (learned this the hard way).
- For a firmer crust, bake it for an extra 2-3 minutes.
- If you can’t find key limes, regular limes work – just add an extra tablespoon of juice.
- Invest in a good zester (game changer!).
- Let the bars cool completely before cutting; they set as they cool.
FAQ
Q: Can I use bottled key lime juice?
A: You sure can, but honestly, fresh juice makes a big difference in flavor.
Q: What’s the calorie count for these bars?
A: It’s about 300 calories per bar, give or take. But they’re worth every single one.
Q: Any storage tips?
A: Keep them in an airtight container in the fridge. They’ll stay fresh for up to 5 days, if they last that long!
Now for a little cultural story. These bars have a history in my family – every Sunday morning, my mom would whip up a batch for brunch. When I had to go gluten-free, I thought I’d lost them for good. But here’s the thing: with a few substitutions, they’re back on the menu, and honestly, they taste just like mom’s.
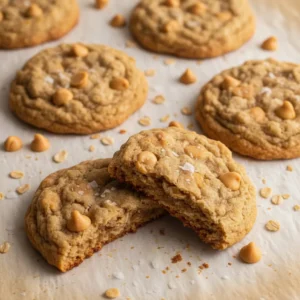
Speaking of substitutions, gluten-free cookies make a great crust if you can’t find gluten-free graham crackers. And if you’re dairy-free, coconut oil can replace butter, and there are some pretty good condensed milk alternatives out there. But keep in mind, each change tweaks the flavor a bit. (I learned this when I accidentally used salted butter – oops!)
As for variations, feel free to add a bit of coconut to the crust for a tropical twist, or throw in a dollop of sour cream in the filling for extra creaminess. The first time I tried the coconut, even my neighbor was asking for the recipe.
In conclusion, these Gluten-Free Key Lime Bars are more than just a dessert; they’re a little slice of home. The tangy lime, the sweet filling, the crumbly crust – they bring people together. Last Tuesday, I caught the kids sneaking seconds before dinner. Can’t say I blame them, though. After all, isn’t that the sign of a truly great treat?
So, whether you’re gluten-free or just looking for a deliciously tangy bar, give these a try. And remember, the kitchen is for making memories – even the occasional flop is just part of the story. Happy baking!